
How to Clear the Clipboard in Windows 10
Clear Clipboard Windows 10-Clipboard is Usually Temporary and unnamed, and its content resides in the Computer’s Name. On Windows, the Keyboard is a handy little feature and it is designed to store data such as video, image, text, files, etc… And Temporarily for Copy and paste operations.
Clipboard is a buffer that some of the Operating Systems provide for short-term storage and Transfer within between the Application Programs. When you cut or copy something on your PC, it automatically Copied to the Clipboard so that you can Paste a copy of the item elsewhere.
How to Clear Clipboard in Windows 10?
There are different methods to Clear the Clipboard in Windows 10 by using Command Prompt, Shortcuts, and Windows 10 Settings.
How to Clear the Clipboard in Windows 10 by using Settings
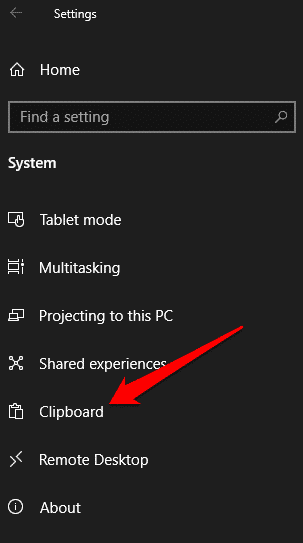
- First, “Press the Start key +I” to open the settings app.
- Then go to the System -> Clipboard page.
- On the Right side of the window, page Scroll down up to the bottom & click on the “Clear” button and then click the Clear clipboard data Section.
![Clear Clipboard Windows 10]()

Then Windows 10 will automatically delete all the Clipboard history except the pinned items from your devices and cloud.
How to Clear Clipboard in Windows 10 Using Windows Key+V
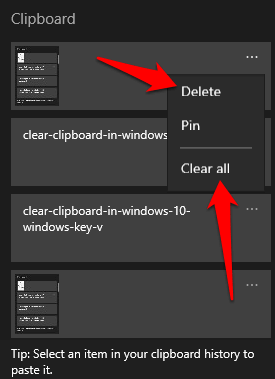
- To clear the Single clipboard item from your windows clipboard history, first Open Clipboard by pressing the keyboard Shortcut “Windows key +V”
- Next, click on the menu icon on the top of the clipboard and choose the “Delete” option from the menu.
- As soon as you click on the delete option the item will be removed from the history.
How to Clear the Clipboard in Windows 10 by Disabling Clipboard History:
If you don’t want the Clipboard history to be available or seen by other users, you can turn off or disable the clipboard history.
- To do this Task Go to the Start menu > settings> Select Clipboard.
- Then Go to the Clipboard History option and change the Switch to off.

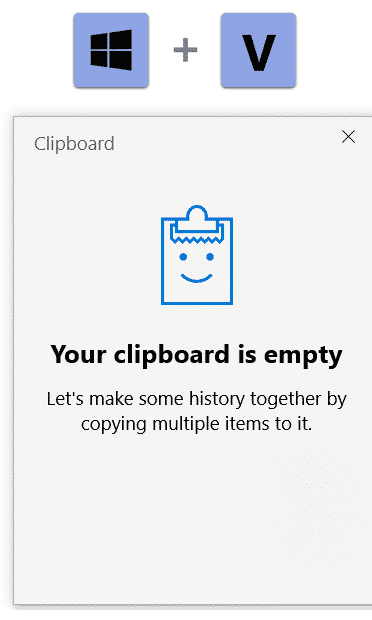
- If you enter a Windows+ V key then a pop-up Window display as your Clipboard is Empty. If you want you can add some files to that window.
How to Clear the Clipboard in the Legacy Clipboard Experience:
If you are not using the Modern Clipboard you can use this Legacy Clipboard. Follow the below steps to clear the clipboard.
- Go to File Explorer and choose Desktop or Document to store your Shortcut.
- Select the Home tab and select the new item for creating a shortcut. New item> shortcut.

- Copy and paste the given command below
- %windir%\System32\cmd.exe /c “echo off | clip”
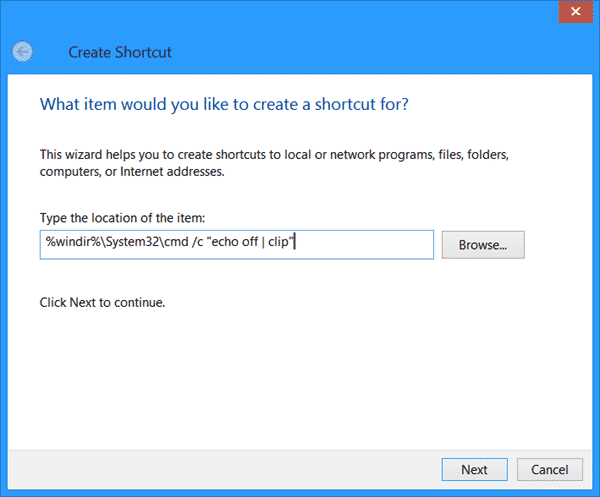
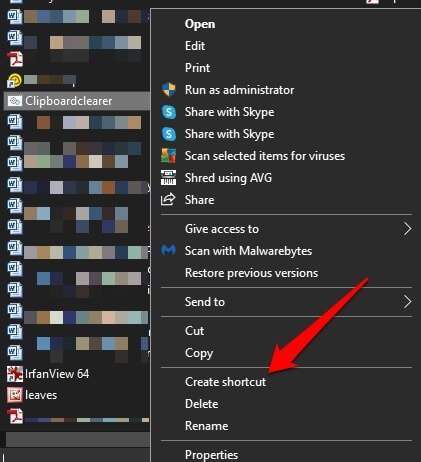
- Select Next and Create a name for the shortcut for example Keyboard clearer and select Finish.
- Right-click on the shortcut you created and select >properties Shortcut tab and then select Change Icon.
![]()
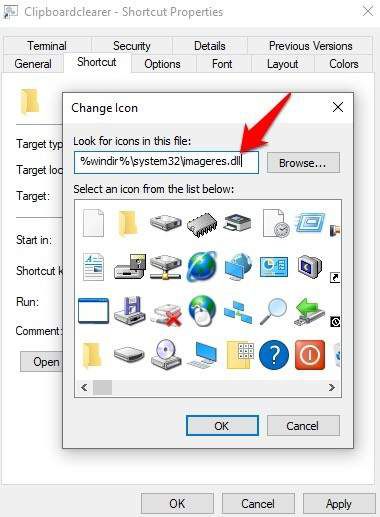
- Copy and paste the Path below and press enter
- %windir%\system32\imageres.dll.
![]()
- Select an icon for your shortcut and click Ok and Apply.
How to clear the Clipboard in Command Prompt.
A command prompt is a powerful tool for making adjustments to your PC, and troubleshooting. It gives you the ability to execute commands and directly tell your PC what to do through a scripting Language. using this you can easily clear all items saved in your Clipboard.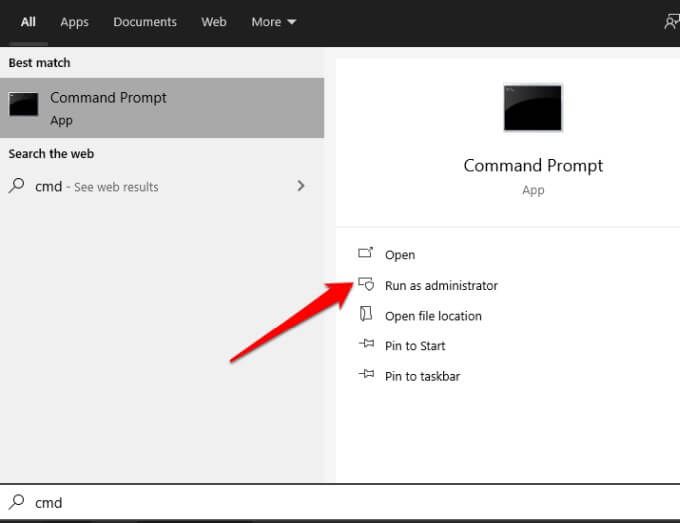
- Open the Run Command By pressing the Windows+R key on Keyboard.
- To launch Command prompt Just Type “cmd” in the Run command.
- Click Yes to allow the command prompt to make changes on your PC.
- In the command prompt type cmd / c “echo off ” clip” and press enter to execute it.
- Close the command prompt and Press Windows + V keyword to check the cleared-out clipboard history.

How to Clear the Clipboard in Notepad:
If you are using a modern keyboard on your PC, then you can clear the data with a shortcut.
- For this open the Start button and search for Notepad.
- Copy and Paste the Below Commands in it.
- %windir%\System32\cmd.exe /c “echo off | clip”
- wmic service where “name like ‘%%cbdhsvc_%%”‘ call stopservice
- wmic service where “name like ‘%%cbdhsvc_%%”‘ call startservice
3. Next Select file> save as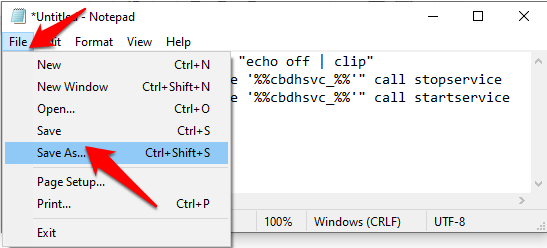
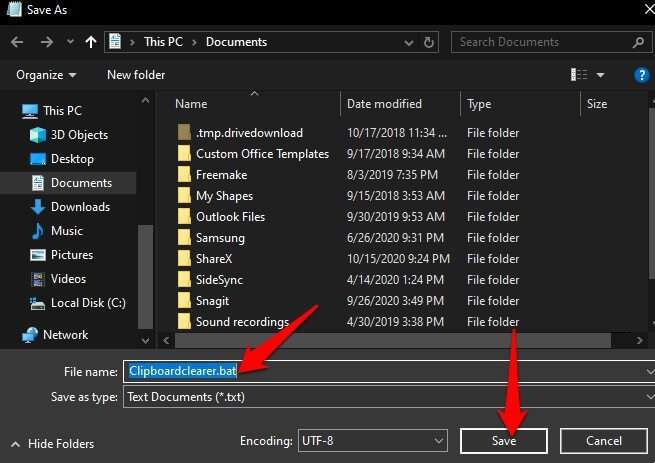
4. Give the File name with .batextension and save it.
5. Right-click on it and then select create a shortcut.
6. Then right-click on the shortcut you created and select properties.
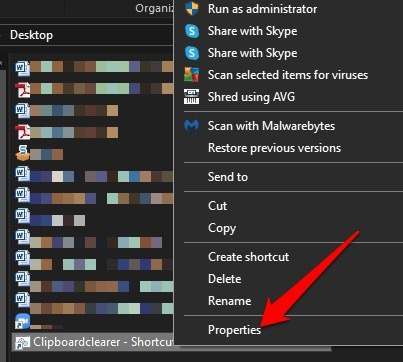
7. Select the shortcut tab and select the Change Icon.
![]()
8. Copy and paste the Path below and Enter.
%windir%\system32\imageres.dll
9. Select an Icon for the shortcut and click Ok and apply.
10. Next Select Advanced Option. And check the Run as Administrator box
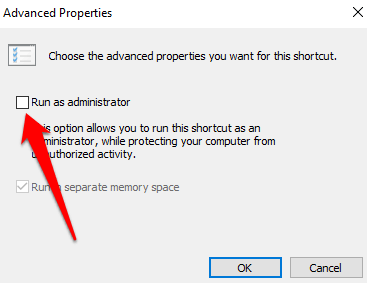
11. Select Ok > Apply and again click OK.