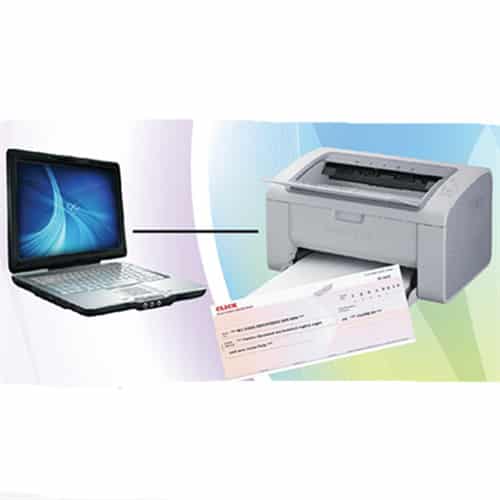
How to Print your Own Business Cheques
Are you tired of asking your bank for cheque books again and again! Then why not just print your cheque at home without lingering around. We all wish to have a currency printing of our own but of course, we can’t have that for obvious reasons.
Instead, you can print a cheque of your own legally! Yes, the checks printed through modern-day Best Printers for Printing checks look almost identical, and it’s almost impossible to point out a difference between the printed on and the original one with bare eyes.
That’s not all, it’s totally legal and well within rules to use a printed cheque, in case someone has run out of the checks issued by the bank.
It is one of those DIY things. It’s not that difficult and it’s easy and expedient as it saves you some time and money. Also, it helps you to keep the checks in check more efficiently. You just need a few things to have your cheque by following a few easy steps.
These printers ranked in the range of Best Printers for Printing checks aren’t confined to cheque printing only, obviously, they perform every function that is expected out of a modern-day printer.
Step 1: Get the requirements
To print your own cheque you need a few printing tools i.e-
- Blank cheque stock paper. It is a special paper from regular paper used for printing checks with the help of Best Printers for Printing checks to prevent it from any chances of altering and duplication. This means you cannot simply print a cheque on any normal paper, there’s a special class of paper available in the market especially for this purpose.
- Check printing software. It is a software made to design and format your checks from your computer. You can purchase it and install it on your PC to customize your checks. Some of the best checks wholesale printing software that is easy to use is ATSCP, Sterling Cheque Printing software, ChequePro, Keynes. Using this software printing cheque is far too easy, you just need to enter your credentials in the pre-made templates made available to you.
- Magnetic Ink. You may need a magnetic ink to print on your checks as it differs from the fake ones. But this is optional as it is expensive and the bank uses optical readers to examine the cheque nowadays.
- Lastly, you will need a printer, and not any ordinary printer but Best Printers for Printing checks to print out your checks. A printer on which you can rely on for such work that asks for extreme precision.
Step 2: MICR Font
MICR stands for Magnetic Ink Character Recognition. It is a special font used in bank checks to recognize it from the fake ones. The cheque number, account and routing details are printed in MICR font. So you need to first download it and then install it to print the cheque in MICR font. These are easily available on the internet, you just type the search text on the search engine and you will find it on the first few results that pop up.
Step 3: Bank Routing number and Account number

A Bank routing number is a nine-digit code used to locate the financial institution where the cheque is drawn. It needs to be printed on the bottom left side of the cheque with the Account number next to it but leave the space between the two numbers. These numbers should be printed using the MICR font.
Step 4: Cheque number and Fractional number
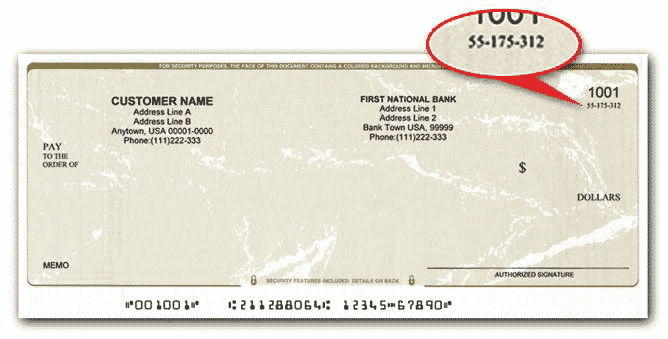
Type the cheque number on the upper right corner of the cheque layout after deciding the starting number of checks. The cheque number should also be typed at the bottom of the cheque right to the account number in MICR font. Then place the Fractional number of your bank on the upper right corner of the cheque below the cheque number.
Step 5: Input Personal Information and Bank logo
Your cheque needs your personal information. Type your name and address on the upper left corner of the cheque. You can also place the logo of your bank at the left corner before your personal information.
Step 6: Input Date box
Fix the date box or date-line on the upper right corner of the cheque outline, little left and, below the cheque and Fractional number. And its regardless to say that it should be empty, don’t prefill it, it should be filled with hands.
Step 7: Payee Line and Currency Box
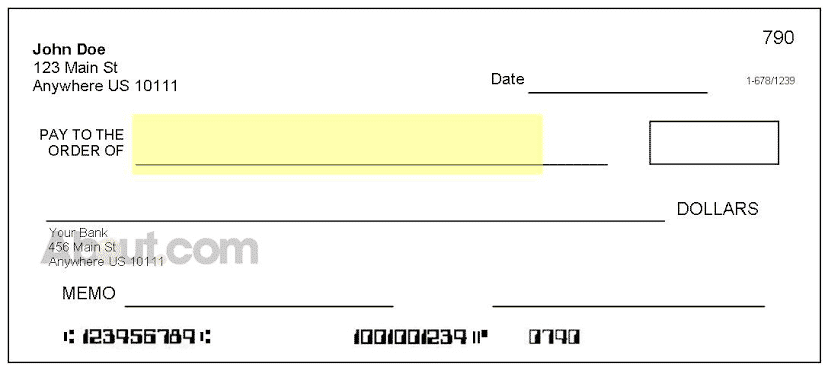
Our next step is to put the payee line in its place which is on the right side of the cheque. Type “Pay to the order of” below your personal information giving a little space in between. Extend the payee line giving sufficient space. Now place the currency box right next to the payee line with the currency logo of your country. A Currency box is used to write the amount to be paid or withdrawn.
Step 8: Amount Line
Now place the currency amount line in which the needed amount is to be filled in spelling words, right below the payee line with the currency typed in words at the end of the amount line.
Step 9: Memo line and Signature Input
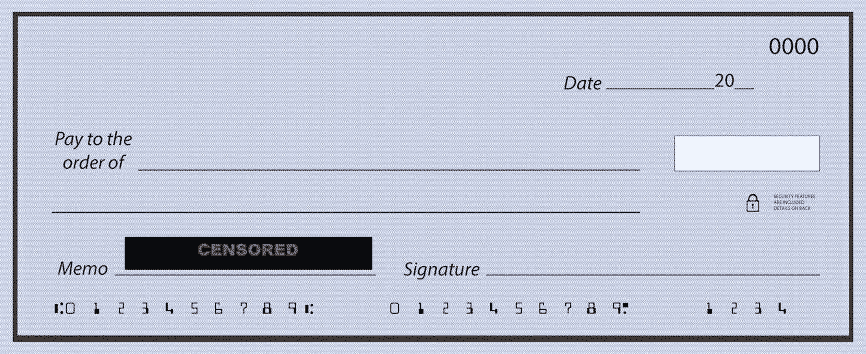
This step is the end of the cheque design. Place the memo line at the lower-left corner right above the routing number. This goes with the signature line right next to the memo line. Extend both the memo line and signature at a required length as per the cheque.
Step 10: Check and Print
Now since we have finished customizing the cheque layout, you can recheck it one final time to see if everything is correct and is at its right place. Take an original cheque and cheque the details while giving proper attention to minute details. If your cheque looks completely fine then you can print it out through any of the Best Printers for Printing checks on the blank cheque stock. Now you have your cheque made by you.